HELLO FRIENDS_ _ _If you are interested in robotics but you dont know how to start.
_ _ _I think you are visiting perfect website to know about robotics.
LETS START
You need to learn from basics,that is to know about software,coding,microcontrollers,modules and sensors etc...Initially you need to know about software which is used to writing,editing,compiling,debugging,running and uploading the code to microcontrollers,ARDUINO IDE(Integrated Development Environment) is the software it can do all those things.ARDUINO IDE is the software for aurdino.It is the platform for uploading the codes to the microcontrollers like aurdino nano,aurdino uno,esp32,esp8266 etc...you can control the microcontrollers by uploading different commanding codes by the software.you have to install ARDUINO IDE,i think you dont have a idea on installation process but dont worry guys i will help you.The installation procss is very easy by following the given steps in below_ _ _
PART
1
INTERNET CONNECTION
I think everyone can understand this part by just reading the headline of this part. But someone who are freshers to the computer they don't know how to connect internet to the computer, so don't worry about that I will explain you about internet connection in a simple manner.
HERE WE GO---
You can connect to the internet by the following three methods.
1. BY ETHERNET
2. BY DONGLE(WIFI RECEIVER)
3. BY DATA CABLE
ETHERNET:suppose if you have a wifi router at your home, it is very simple to connect the internet to your computer. the wifi router companies provide ethernet or internet cable, this cable is connected to your computer internet port which is placed backside of CPU, after that the internet symbol is displayed on your monitor and the computer is ready to use the internet without any distractions. by this ethernet, the speed of the internet is more enough to download the software and other uses.
DONGLE: dongle is a device that looks like a Pendrive. it has the ability to receive the wifi signal and gives access to a computer for using the internet without any cable. if you connect the dongle to your computer the wifi symbol is shown on your monitor click on that wifi symbol and connect the wifi.
BY DATA CABLE:connect the data cable to computer and another port of data cable is connect to the mobile,and then enable the usb tethering option in the mobile.after that the computer is ready to use the internet by the help of data cable or usb cable.
PART
2
ARDUINO DOWNLOAD
step
2.1
After connecting the internet to your computer. Open your favorite search browser. in my case, I will open google chrome. Can be used any type of search browser like microsoft edge, firefox, uc browser etc......

step
2.2
In search bar type "Arduino software download" and click on Enter Button.

step
2.3
After click on the enter button the page will looks like below and then click on the aurdino official website which is highlighted in the image.

step
2.4
Then the official page will open and select the suitable download option and click on it which is shown in the image.

step
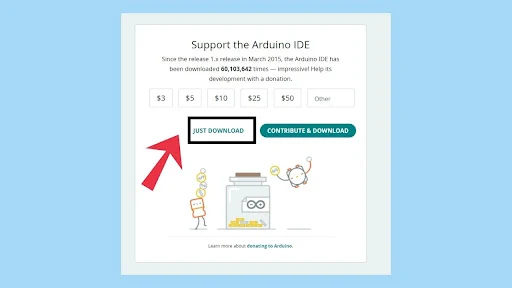
2.5
After that page will looks like below and click on the "JUST DOWNLOAD" button.
step
2.6
then the download will starts......

step
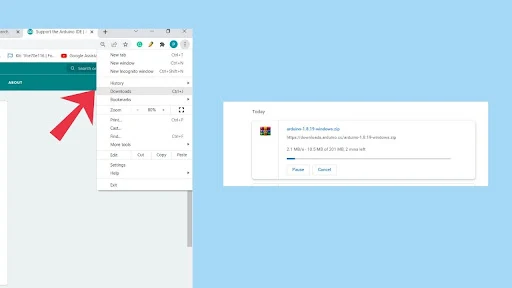
2.7
the percentage of downloading will shows on download bar,which is shows in below image.after completion of file download click on the "show in folder" button.

PART
3
ARDUINO INSTALLATION
step
3.1
press right click on the file and select extract file option.

step
3.2
then the page will appears like this and click on "ok" button.

step
3.3
after completion of previous step,the extraction process will be starts.

step
3.4
after completion of extraction,the aurdino application send to the desktop,that means create a aurdino shortcut on the desktop.

step
3.5
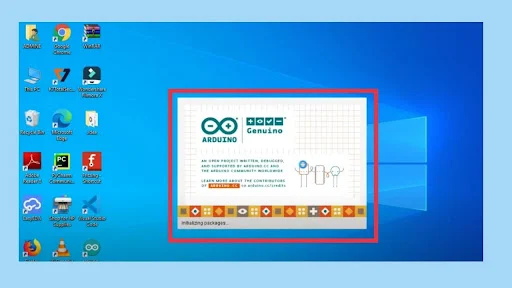
aurdino logo shows on the desktop and then open it.

step
3.6
the aurdino ide loading page appears like this.......