

HELLO, FRIENDS_ _ _If you are interested in robotics but you dont know how to start.
_ _ _I think you are visiting the perfect website to know about robotics.
LET'S START
You need to learn from the basics, that is to know about software, coding, microcontrollers, modules and sensors etc...Initially, you need to know about the software that is used to writing, editing,compiling,debugging,running and uploading the code to microcontrollers, ARDUINO IDE(Integrated Development Environment) is the software it can do all those things.ARDUINO IDE is the software for aurdino.It is the platform for uploading the codes to the microcontrollers like aurdino nano,aurdino uno,esp32,esp8266 etc...you can control the microcontrollers by uploading different commanding codes by the software.you have to install ARDUINO IDE,i think you dont have a idea on installation process but dont worry guys i will help you.The installation procss is very easy by following the given steps in below_ _ _
Gather your components. To build a basic tutorial, you'll need several simple components. You can find most, if not all, of these components at your local electronics hobby shop, or several online retailers. Some basic kits may include all of these components as well.
PART 1
Material Required
1.ARDUINO
2.CONNECTING CABLE
3.BREAD BOARD
4.220 OHM RESISTOR
5.JUMPERS
6.LED
Arduino
it is the main equipment of the project,without this microcontroller we can't do anything.
the required code will be uploaded to the arduino board and then the output of the code will be executed by the microcontroller.
Now

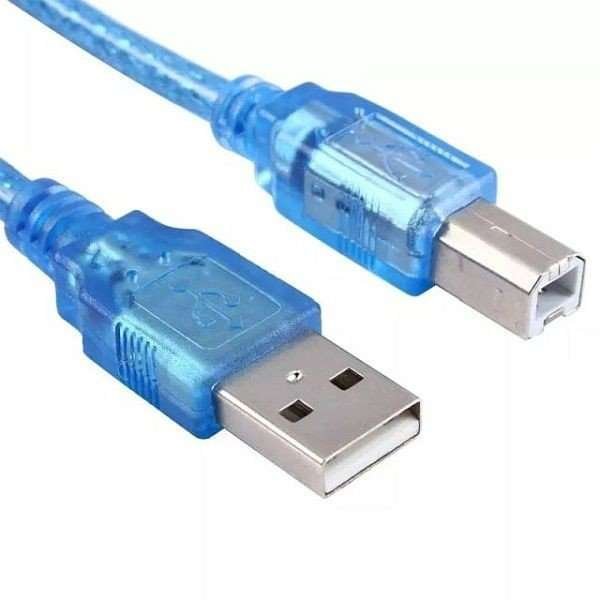
CONNECTING CABLE
the cable is used to upload the code to microcontroller from the computer. and it is also used as giving power supply to the microcontroller.
BREAD BOARD
the bread board is used to make the connections simplify and easy.

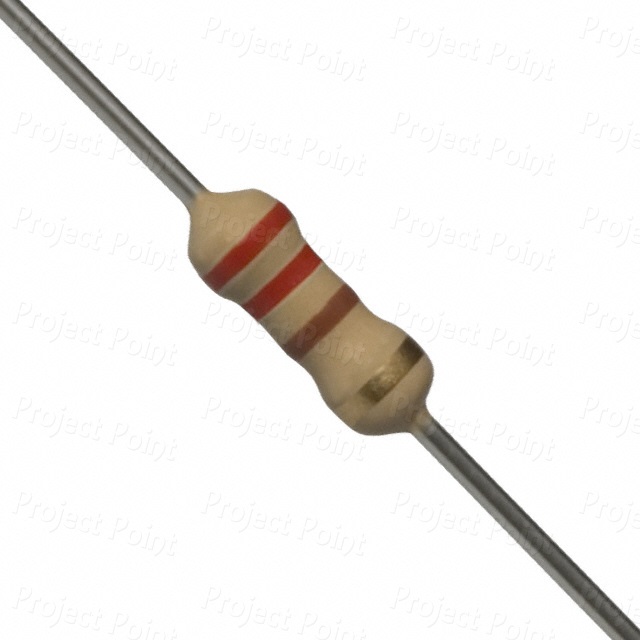
220 OHM RESISTOR
the resistor is used to protect the led by connecting in series.the resistor protects the led from flow of over voltage across the led.
JUMPERS
the jumpers are used to connect the aurdino,external components and bread board together.

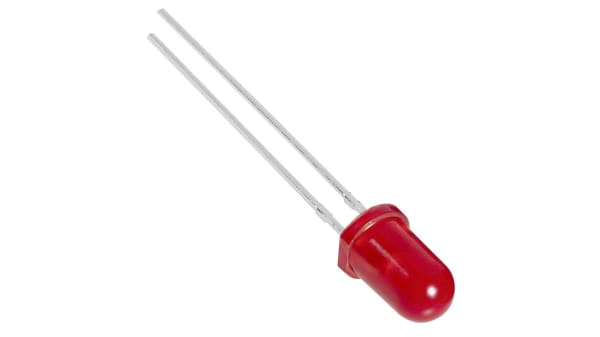
LED
the blink code is tested by the help of the led and in other words the output of the code will be excecuted on this led.
PART 2
wiring connection
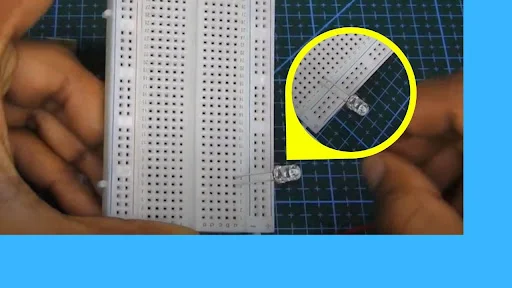
step 2.1
Take the breadboard and fix the led on it as like in the image.
step 2.2
connect the 220-ohm resistor in series with the LED, which is shown in the image.

step 2.3
Take the two jumper wires, one of the jumper wires is connected to the remaining terminal of the led and another jumper wire is connected to the remaining terminal of the resistor which is shown in the below image.

step 2.4
one of the two jumpers is connecting to GND and the remaining is connect to 13 pin of the Arduino board, which is shown in the below image.

PART 3
Coding Part
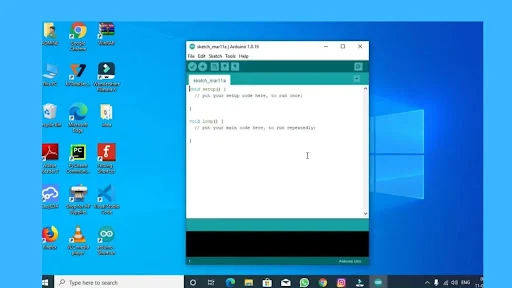
step 3.1
open the Arduino ide and the page appears like as below...
step 3.2
Click on the file button which appears on the top-left of the page, after that some options are displayed and select the "Examples" option then the list of Aurdino project examples are shown, and select "basics" then select "Blink" which is shown in the below image.after selecting the "blink" the code will be opened. the code helps to blink the LED through the Aurdino.

step 3.3
click on the tools button and select "board" then finally select the "aurdino uno", which is shown in the image.

step 3.4
The aurdino and computer is connected together through a cable as like in the below image.

step 3.5
Click on the "tools" button and select the "port" option,then select the suitable com port which is connected to arduino.

step 3.6
click on the "✓" symbol which is shown on the top left of the arduino ide(the "✓" symbol represents the compile/verify the code)and then the code is compiled as like in the image.

step 3.7
it is the final step of the project,that is upload the program into the arduino.click on the "➡" symbol which is shown beside the "✓" symbol,then the coad is successfully uploaded to the arduino.

step 3.8
then finally the code will run in the arduino board.the led blinks with a delay of one second.

or
contact me on watsapp(7995246896,8008896706)
Led light in pakistan Cecon Engineering being one of the top LED brands in Pakistan to provides you one of the best-LED lights in Pakistan to make your life lighten with our cheapest LED light
ReplyDeleteNice blog thanks for sharing this content. portable outdoor lamp with bluetooth speaker
ReplyDelete